
Red Velvet Thumbprint Cookies: A Sweet Delight
Red Velvet Thumbprint Cookies are not just a treat; they are a celebration of flavor and texture that brings joy to any occasion. These delightful cookies combine the rich, velvety taste of red velvet cake with the fun and interactive nature of thumbprint cookies, making them a perfect addition to your dessert table. Originating from the classic red velvet cake, which has its roots in the Southern United States, these cookies carry a sense of nostalgia and warmth that many of us cherish.
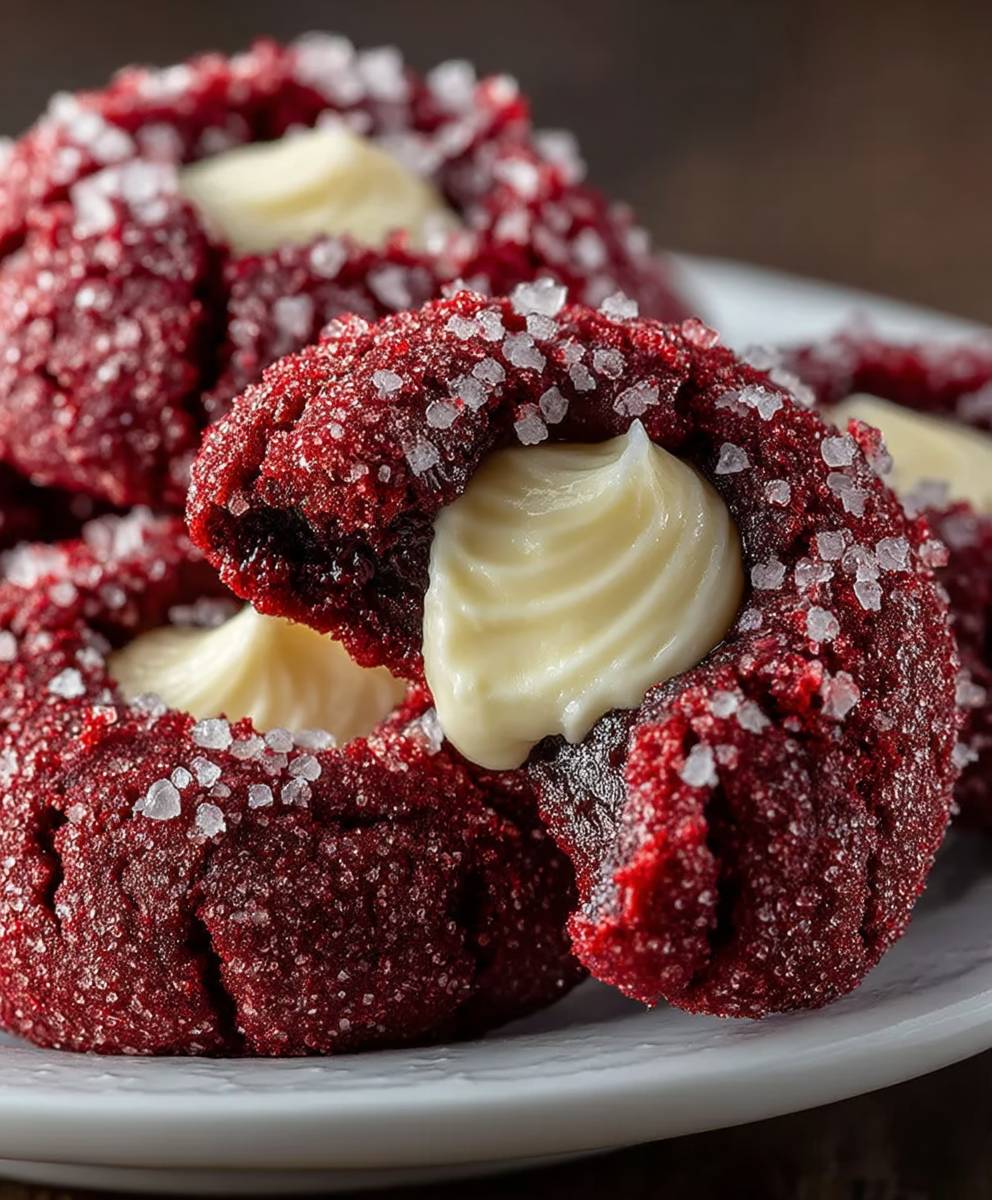
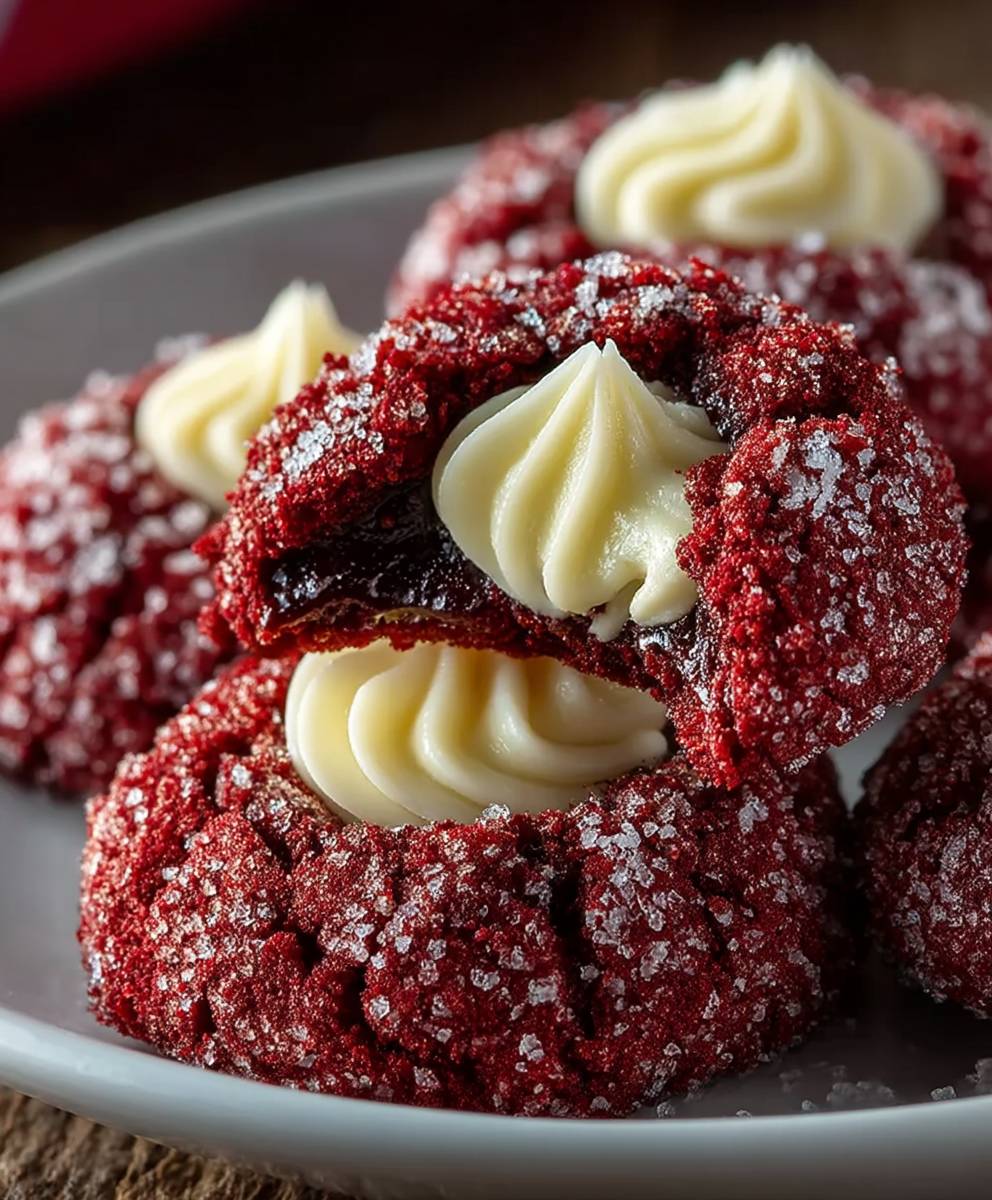
What makes Red Velvet Thumbprint Cookies so beloved is their unique combination of soft, chewy texture and the sweet, creamy filling that often accompanies them. The vibrant red color not only makes them visually appealing but also adds a touch of elegance to any gathering. Whether you’re baking for a holiday, a birthday, or simply to satisfy a sweet tooth, these cookies are incredibly convenient to make and are sure to impress your family and friends. Join me as we dive into the delightful world of Red Velvet Thumbprint Cookies and discover how to create this irresistible treat in your own kitchen!
Ingredients:
- 2 ½ cups all-purpose flour
- 1 tablespoon cocoa powder
- 1 teaspoon baking soda
- ½ teaspoon salt
- 1 cup unsalted butter, softened
- 1 cup granulated sugar
- 1 large egg
- 1 tablespoon red food coloring
- 1 teaspoon vanilla extract
- ½ teaspoon almond extract
- ½ cup cream cheese, softened
- 1 cup powdered sugar
- 1 teaspoon vanilla extract (for frosting)
- ½ cup chocolate chips (for filling)
Preparing the Dough
- In a medium bowl, whisk together the all-purpose flour, cocoa powder, baking soda, and salt. Set this mixture aside as it will be added to the wet ingredients later.
- In a large mixing bowl, cream together the softened unsalted butter and granulated sugar using an electric mixer on medium speed. Beat until the mixture is light and fluffy, which should take about 3-4 minutes.
- Add the egg, red food coloring, vanilla extract, and almond extract to the butter-sugar mixture. Mix on low speed until everything is well combined and the color is uniform.
- Gradually add the dry ingredients to the wet mixture, mixing on low speed until just combined. Be careful not to overmix; you want the dough to be soft and slightly sticky.
- Once the dough is ready, cover the bowl with plastic wrap and refrigerate for at least 1 hour. This will help the cookies hold their shape while baking.
Preparing the Filling
- While the dough is chilling, prepare the cream cheese filling. In a separate bowl, beat the softened cream cheese with an electric mixer until smooth.
- Gradually add the powdered sugar and 1 teaspoon of vanilla extract to the cream cheese, mixing until the filling is creamy and well combined. Set aside.
- In a small microwave-safe bowl, melt the chocolate chips in the microwave in 30-second intervals, stirring in between until smooth. Allow it to cool slightly before using.
Shaping the Cookies
- Preheat your oven to 350°F (175°C) and line two baking sheets with parchment paper.
- Once the dough has chilled, remove it from the refrigerator. Using a cookie scoop or your hands, form the dough into 1-inch balls and place them on the prepared baking sheets, leaving about 2 inches of space between each cookie.
- Using your thumb or the back of a measuring spoon, gently press down in the center of each cookie ball to create a well for the filling. Be careful not to press too hard; you want to create a nice indentation without breaking the cookie.
Baking the Cookies
- Bake the cookies in the preheated oven for 10-12 minutes, or until the edges are set and the tops look slightly puffy. The cookies will continue to firm up as they cool, so don’t worry if they seem a little soft when you take them out.
- Once baked, remove the cookies from the oven and allow them to cool on the baking sheets for about 5 minutes. Then, transfer them to a wire rack to cool completely.
Assembling the Cookies
- Once the cookies are completely cooled, it’s time to fill them. Using a small spoon or a piping bag, fill each thumbprint with the cream cheese filling. Be generous, but don’t overfill to avoid spilling.
- After filling with cream cheese, drizzle the melted chocolate over the top of each cookie. You can use a fork or a piping bag for a more decorative look.
- Let the chocolate set for about 15-20 minutes at room temperature, or you can place the cookies in the refrigerator for a quicker set.
Serving and Storing
- Once the chocolate has set, your Red Velvet Thumbprint Cookies are ready to be served! They make a delightful treat for any occasion, especially
Conclusion:
If you’re looking for a delightful treat that combines the rich, velvety flavor of red velvet with the fun and nostalgia of thumbprint cookies, then these Red Velvet Thumbprint Cookies are an absolute must-try! Not only do they boast a stunning appearance with their vibrant red color and creamy filling, but they also deliver a deliciously soft and chewy texture that will have everyone reaching for seconds. The combination of cocoa and vanilla creates a flavor profile that is both unique and comforting, making these cookies perfect for any occasion, from holiday gatherings to casual get-togethers.
When it comes to serving suggestions, these cookies are incredibly versatile. You can fill them with a variety of delicious options, such as classic cream cheese frosting, rich chocolate ganache, or even a fruity jam for a refreshing twist. If you want to elevate the presentation, consider drizzling some melted white chocolate over the top or sprinkling them with festive sprinkles to match the season. For a fun variation, try adding a hint of peppermint extract to the cream cheese filling during the winter months, or swap out the cocoa for a hint of espresso for a mocha-inspired treat. The possibilities are endless, and I encourage you to get creative with your fillings and toppings!
I genuinely believe that once you try these Red Velvet Thumbprint Cookies, they will become a staple in your baking repertoire. They are not only a feast for the eyes but also a delight for the taste buds. I invite you to gather your ingredients, roll up your sleeves, and dive into this baking adventure. Whether you’re baking for yourself, your family, or a special event, these cookies are sure to impress and bring smiles all around.
After you’ve made your batch, I would love to hear about your experience! Did you stick to the classic cream cheese filling, or did you try something new? Share your thoughts, tips, and any variations you came up with in the comments below. Your feedback not only helps me but also inspires fellow bakers in our community. So, don’t hesitate to share your delicious creations and let’s celebrate the joy of baking together! Happy baking, and enjoy every bite of your Red Velvet Thumbprint Cookies!
Red Velvet Thumbprint Cookies: A Delicious Twist on a Classic Treat
These Red Velvet Thumbprint Cookies are a delightful treat featuring a soft, slightly sticky red velvet dough filled with creamy cream cheese and drizzled with rich melted chocolate. Perfect for any occasion, they are sure to impress with their vibrant color and delicious flavor!
Ingredients
- 2 ½ cups all-purpose flour
- 1 tablespoon cocoa powder
- 1 teaspoon baking soda
- ½ teaspoon salt
- 1 cup unsalted butter, softened
- 1 cup granulated sugar
- 1 large egg
- 1 tablespoon red food coloring
- 1 teaspoon vanilla extract
- ½ teaspoon almond extract
- ½ cup cream cheese, softened
- 1 cup powdered sugar
- 1 teaspoon vanilla extract (for frosting)
- ½ cup chocolate chips (for filling)
Instructions
- In a medium bowl, whisk together the all-purpose flour, cocoa powder, baking soda, and salt. Set aside.
- In a large mixing bowl, cream together the softened unsalted butter and granulated sugar using an electric mixer on medium speed until light and fluffy (about 3-4 minutes).
- Add the egg, red food coloring, vanilla extract, and almond extract to the butter-sugar mixture. Mix on low speed until well combined.
- Gradually add the dry ingredients to the wet mixture, mixing on low speed until just combined. The dough should be soft and slightly sticky.
- Cover the bowl with plastic wrap and refrigerate for at least 1 hour.
- While the dough is chilling, beat the softened cream cheese with an electric mixer until smooth.
- Gradually add the powdered sugar and 1 teaspoon of vanilla extract to the cream cheese, mixing until creamy and well combined. Set aside.
- Melt the chocolate chips in a small microwave-safe bowl in 30-second intervals, stirring until smooth. Allow to cool slightly.
- Preheat your oven to 350°F (175°C) and line two baking sheets with parchment paper.
- Remove the chilled dough from the refrigerator. Form the dough into 1-inch balls and place them on the prepared baking sheets, leaving about 2 inches of space between each cookie.
- Press down gently in the center of each cookie ball to create a well for the filling.
- Bake the cookies for 10-12 minutes, or until the edges are set and the tops look slightly puffy. They will firm up as they cool.
- Allow the cookies to cool on the baking sheets for about 5 minutes, then transfer to a wire rack to cool completely.
- Once cooled, fill each thumbprint with the cream cheese filling using a small spoon or piping bag.
- Drizzle the melted chocolate over the top of each cookie.
- Let the chocolate set for about 15-20 minutes at room temperature, or refrigerate for quicker setting.
- Once the chocolate has set, serve your Red Velvet Thumbprint Cookies. Enjoy these delightful treats for any occasion!
Notes
- Ensure the butter is softened to room temperature for easy creaming.
- You can adjust the amount of red food coloring to achieve your desired shade of red.
- Store cookies in an airtight container at room temperature for up to 5 days.


Leave a Comment