
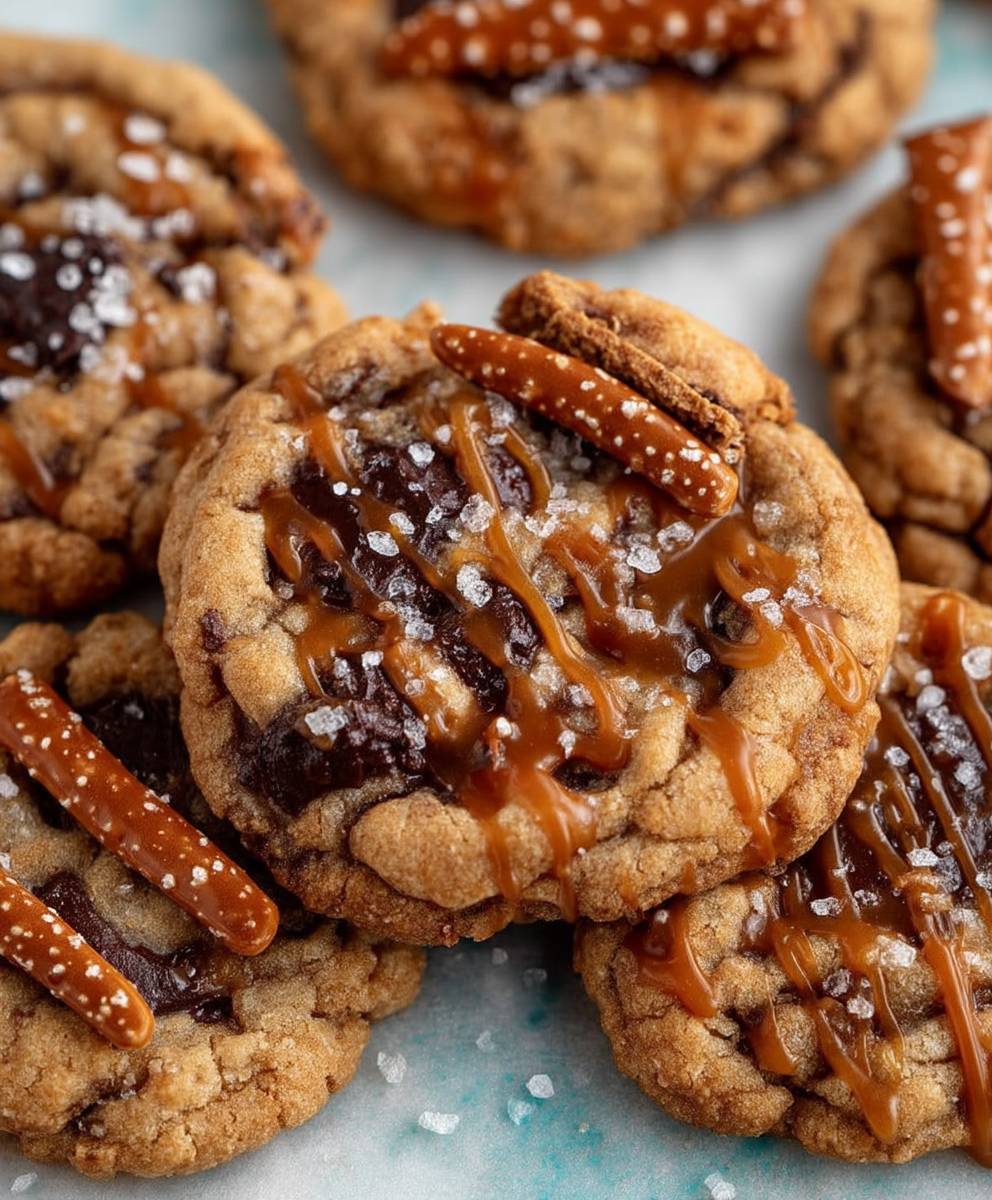
Peanut Butter Chocolate Cookies
Peanut Butter Chocolate Cookies are a delightful treat that brings together the rich, creamy flavor of peanut butter and the indulgent sweetness of chocolate. These cookies are not just a dessert; they are a nostalgic reminder of childhood baking sessions and family gatherings. Originating from the classic American cookie repertoire, peanut butter cookies have been a beloved staple for generations, often enjoyed with a glass of milk or as a sweet snack after school.
What makes Peanut Butter Chocolate Cookies so irresistible is their perfect balance of taste and texture. The soft, chewy center combined with the slight crunch of the edges creates a cookie experience that is both satisfying and comforting. People love these cookies not only for their delicious flavor but also for their convenience; they come together quickly and require minimal ingredients, making them an ideal choice for both novice bakers and seasoned pros alike. Whether you’re baking for a special occasion or simply indulging in a sweet craving, Peanut Butter Chocolate Cookies are sure to please everyone at the table.
Ingredients:
- 1 cup creamy peanut butter
- 1 cup granulated sugar
- 1 large egg
- 1 teaspoon vanilla extract
- 1/2 teaspoon baking soda
- 1/4 teaspoon salt
- 1 cup semi-sweet chocolate chips
- Optional: 1/2 cup chopped nuts (such as walnuts or pecans)
Preparing the Dough
- In a large mixing bowl, combine the creamy peanut butter and granulated sugar. Using a hand mixer or a whisk, blend them together until the mixture is smooth and creamy. This should take about 2-3 minutes.
- Add the large egg to the peanut butter and sugar mixture. Then, pour in the vanilla extract. Mix well until all the ingredients are fully incorporated.
- In a separate bowl, whisk together the baking soda and salt. Gradually add this dry mixture to the wet ingredients, stirring until just combined. Be careful not to overmix, as this can affect the texture of the cookies.
- Fold in the semi-sweet chocolate chips and, if you’re using them, the chopped nuts. Make sure they are evenly distributed throughout the dough.
Chilling the Dough
- Once the dough is well mixed, cover the bowl with plastic wrap or a clean kitchen towel. Place it in the refrigerator for at least 30 minutes. Chilling the dough helps the cookies maintain their shape while baking and enhances the flavors.
Prepping for Baking
- While the dough is chilling, preheat your oven to 350°F (175°C). This ensures that the cookies start baking at the right temperature as soon as they go in.
- Line a baking sheet with parchment paper or a silicone baking mat. This will prevent the cookies from sticking and make cleanup easier.
Shaping the Cookies
- After the dough has chilled, remove it from the refrigerator. Using a cookie scoop or a tablespoon, scoop out portions of the dough and roll them into balls. Each ball should be about 1 inch in diameter.
- Place the cookie balls on the prepared baking sheet, leaving about 2 inches of space between each ball to allow for spreading during baking.
- Using a fork, gently press down on each cookie ball to create a crisscross pattern on top. This not only gives the cookies a classic look but also helps them bake evenly.
Baking the Cookies
- Once all the cookies are shaped and on the baking sheet, place them in the preheated oven. Bake for 10-12 minutes, or until the edges are lightly golden. The centers may look slightly underbaked, but they will continue to cook on the baking sheet after being removed from the oven.
- After baking, remove the cookies from the oven and let them cool on the baking sheet for about 5 minutes. This allows them to set before transferring them to a wire rack.
- Using a spatula, carefully transfer the cookies to a wire rack to cool completely. This step is crucial for achieving the perfect texture.
Storing the Cookies
- Once the cookies are completely cooled, you can store them in an airtight container at room temperature. They will stay fresh for up to a week.
- If you want to keep them longer, consider freezing the cookies. Place them in a single layer in a freezer-safe container, separating layers with parchment paper. They can be frozen for up to 3 months.
Enjoying Your Cookies
- These peanut butter chocolate cookies are perfect for any occasion. Serve them at parties, pack them in lunchboxes, or enjoy them as a sweet treat with your afternoon coffee or tea.
- For an extra indulgent experience, try warming them slightly in the microwave for about 10 seconds before serving. This will make the chocolate chips gooey and the cookies even more delicious!
Tips for Perfect Cookies
-

Conclusion:
If you’re looking for a delightful treat that perfectly balances the rich, creamy flavor of peanut butter with the indulgent sweetness of chocolate, then these Peanut Butter Chocolate Cookies are an absolute must-try! Not only are they incredibly easy to whip up, but they also deliver a satisfying texture that’s both chewy and slightly crisp on the edges. Each bite is a heavenly combination of flavors that will leave you craving more.
One of the best things about this recipe is its versatility. You can enjoy these cookies as they are, or you can get creative with some serving suggestions. For a fun twist, try adding a sprinkle of sea salt on top right before baking to enhance the flavors even further. If you’re feeling adventurous, consider mixing in some chopped nuts, like walnuts or pecans, for an added crunch. You could also swap out the chocolate chips for white chocolate or even butterscotch chips for a different flavor profile.
These cookies are perfect for any occasion—whether you’re hosting a gathering, looking for a sweet snack to enjoy with your afternoon coffee, or simply want to treat yourself after a long day. They also make a fantastic gift when packaged in a cute jar or box, making them a thoughtful surprise for friends and family.
I encourage you to give this Peanut Butter Chocolate Cookies recipe a try! I promise you won’t be disappointed. Once you’ve baked a batch, I’d love to hear about your experience. Did you stick to the classic recipe, or did you try out any fun variations? Share your thoughts and any creative twists you made in the comments below. Your feedback not only helps me improve but also inspires others in our community to get baking!
So, roll up your sleeves, gather your ingredients, and let’s get baking! These Peanut Butter Chocolate Cookies are waiting to be enjoyed, and I can’t wait for you to experience the joy they bring. Happy baking!
Peanut Butter Chocolate Cookies: The Ultimate Recipe for a Delicious Treat
Enjoy these chewy Peanut Butter Chocolate Chip Cookies, made with a creamy peanut butter base and loaded with semi-sweet chocolate chips. Easy to prepare and perfect for any occasion, they offer a delightful combination of flavors that will satisfy your sweet tooth!
Ingredients
- 1 cup creamy peanut butter
- 1 cup granulated sugar
- 1 large egg
- 1 teaspoon vanilla extract
- 1/2 teaspoon baking soda
- 1/4 teaspoon salt
- 1 cup semi-sweet chocolate chips
- Optional: 1/2 cup chopped nuts (such as walnuts or pecans)
Instructions
- In einer großen Schüssel die cremige Erdnussbutter und den Zucker vermengen. Mit einem Handmixer oder einem Schneebesen gut vermischen, bis die Mischung glatt und cremig ist (ca. 2-3 Minuten).
- Das Ei und den Vanilleextrakt zur Mischung hinzufügen. Gut vermischen, bis alles vollständig integriert ist.
- In einer separaten Schüssel das Backpulver und das Salz vermengen. Diese trockenen Zutaten nach und nach zu den feuchten Zutaten hinzufügen und rühren, bis sie gerade kombiniert sind. Übermischen vermeiden.
- Die Schokoladenstückchen und optional die gehackten Nüsse vorsichtig unterheben, bis sie gleichmäßig verteilt sind.
- Die Schüssel mit Frischhaltefolie oder einem sauberen Küchentuch abdecken und mindestens 30 Minuten im Kühlschrank kühlen, damit die Kekse beim Backen ihre Form behalten.
- Den Ofen auf 350°F (175°C) vorheizen.
- Ein Backblech mit Backpapier oder einer Silikonbackmatte auslegen.
- Nach dem Kühlen Portionen des Teigs entnehmen und zu 1-Zoll großen Bällen rollen.
- Die Keksbälle auf das vorbereitete Backblech legen, dabei etwa 2 Zoll Abstand zwischen jedem lassen.
- Mit einer Gabel sanft auf jeden Keksball drücken, um ein Kreuzmuster zu erzeugen.
- Im vorgeheizten Ofen 10-12 Minuten backen, bis die Ränder leicht goldbraun sind. Die Mitte kann leicht untergebacken aussehen.
- Die Kekse 5 Minuten auf dem Backblech abkühlen lassen, bevor sie auf ein Kuchengitter zum vollständigen Abkühlen übertragen werden.
- Die vollständig abgekühlten Kekse in einem luftdichten Behälter bei Raumtemperatur bis zu einer Woche aufbewahren. Für längere Lagerung in einer einzelnen Schicht in einem gefrierfesten Behälter bis zu 3 Monate einfrieren.
- Diese Kekse bei Partys servieren, in Lunchboxen packen oder mit Kaffee oder Tee genießen. Für einen warmen Genuss etwa 10 Sekunden in der Mikrowelle erhitzen, bevor sie serviert werden.
Notes
- For a richer flavor, consider using natural peanut butter.
- Feel free to experiment with different types of chocolate chips or add-ins like dried fruit.


Leave a Comment