
No-Bake Healthy Desserts
No-Bake Healthy Desserts are a delightful way to satisfy your sweet tooth without the guilt. Imagine indulging in a creamy, rich treat that requires no oven time, making it perfect for warm days or when you’re short on time. These desserts not only cater to your cravings but also align with a healthier lifestyle, allowing you to enjoy the sweetness of life without compromising your health goals.
The concept of no-bake desserts has been around for decades, often passed down through generations as a quick and easy solution for busy families. They are particularly popular in the summer months when turning on the oven feels like a chore. People love these desserts for their incredible taste and texture; the combination of creamy, crunchy, and fruity elements creates a symphony of flavors that dance on your palate.
What’s more, No-Bake Healthy Desserts are incredibly convenient. With minimal preparation and cooking time, you can whip up a delicious treat in no time. Whether you’re hosting a gathering or simply treating yourself, these desserts are sure to impress. Join me as we explore some of my favorite recipes that will make your taste buds sing while keeping your health in check!
Ingredients:
- 1 cup of rolled oats
- 1/2 cup of natural almond butter (or any nut butter of your choice)
- 1/4 cup of honey or maple syrup
- 1/2 cup of unsweetened cocoa powder
- 1/2 cup of shredded coconut (unsweetened)
- 1/2 cup of dark chocolate chips (optional)
- 1 teaspoon of vanilla extract
- 1/4 teaspoon of salt
Preparing the Mixture
- Gather all your ingredients: Before you start, make sure you have everything you need on hand. This will make the process smoother and more enjoyable.
- Mix the dry ingredients: In a large mixing bowl, combine the rolled oats, unsweetened cocoa powder, shredded coconut, and salt. Stir them together until they are well mixed. This will ensure that the flavors are evenly distributed throughout the dessert.
- Combine the wet ingredients: In a separate bowl, mix the almond butter, honey (or maple syrup), and vanilla extract. Use a spatula or a whisk to blend them together until smooth. If your almond butter is too thick, you can microwave it for about 10-15 seconds to make it easier to mix.
- Combine wet and dry ingredients: Pour the wet mixture into the bowl with the dry ingredients. Stir everything together until all the oats are coated and the mixture is well combined. If you’re using dark chocolate chips, fold them in at this stage.
Chilling the Mixture
- Prepare your pan: Line an 8×8 inch baking dish with parchment paper. This will help you easily remove the dessert once it’s set. Make sure to leave some overhang on the sides for easy lifting.
- Transfer the mixture: Spoon the mixture into the prepared baking dish. Use a spatula to spread it evenly across the bottom. Press down firmly to ensure it’s compact. This will help the bars hold together once they are chilled.
- Chill in the refrigerator: Cover the dish with plastic wrap or a lid and place it in the refrigerator. Let it chill for at least 1-2 hours. This step is crucial as it allows the mixture to firm up, making it easier to cut into bars.
Cutting and Serving
- Remove from the refrigerator: After the chilling time is up, take the dish out of the refrigerator. The mixture should be firm to the touch.
- Lift out the bars: Use the overhanging parchment paper to lift the entire block of dessert out of the dish. Place it on a cutting board.
- Cut into bars: Using a sharp knife, cut the block into squares or rectangles, depending on your preferred size. I usually cut them into 16 squares for a nice bite-sized treat.
- Store the bars: Place the cut bars in an airtight container. They can be stored in the refrigerator for up to a week or in the freezer for longer storage. If you freeze them, just make sure to separate layers with parchment paper to prevent sticking.
Enjoying Your No-Bake Healthy Dessert
- Serve chilled: These bars are best enjoyed chilled. You can take them out of the refrigerator a few minutes before serving to let them soften slightly, making them easier to bite into.
- Pair with toppings: If you want to elevate your dessert, consider serving them with fresh fruit, a dollop of yogurt, or a drizzle of extra honey or nut butter on top.
- Share with friends: These no-bake healthy desserts are perfect for sharing. They make a great snack for gatherings, picnics, or just a sweet treat at home.
Variations to Try
If you want to switch things up, here are a few variations you can try:
- Nut-Free
Conclusion:
If you’re looking for a delightful way to satisfy your sweet tooth without the guilt, this no-bake healthy desserts recipe is an absolute must-try! Not only does it offer a deliciously creamy texture and rich flavor, but it also incorporates wholesome ingredients that nourish your body. The best part? You can whip it up in no time, making it perfect for those busy days when you still want to indulge in something sweet.
When it comes to serving suggestions, the possibilities are endless! You can serve these no-bake healthy desserts in individual cups for a charming presentation at your next gathering. Top them with fresh fruits like berries or sliced bananas for an extra burst of flavor and nutrition. A sprinkle of nuts or seeds can add a delightful crunch, while a drizzle of honey or maple syrup can enhance the sweetness if desired. For a fun twist, consider layering the dessert with granola or crushed cookies for added texture.
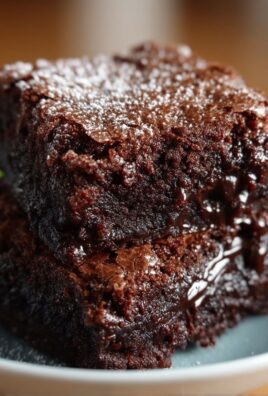
If you’re feeling adventurous, you can easily customize this recipe to suit your taste preferences. Want a chocolatey version? Simply add cocoa powder or melted dark chocolate to the mix. Craving something tropical? Incorporate coconut flakes or a splash of pineapple juice. The versatility of this no-bake healthy dessert means you can experiment with different flavors and ingredients, making it a go-to recipe for any occasion.
I encourage you to give this no-bake healthy desserts recipe a try! It’s not only a fantastic way to treat yourself but also a great option for impressing friends and family. Whether you’re hosting a dinner party, celebrating a special occasion, or just looking for a sweet snack, this recipe is sure to be a hit.
Once you’ve made it, I’d love to hear about your experience! Share your thoughts, any variations you tried, or even photos of your creations. Your feedback not only inspires me but also helps others discover the joy of making these delicious no-bake healthy desserts. So roll up your sleeves, gather your ingredients, and let’s get started on this delightful journey of healthy indulgence!
No-Bake Healthy Desserts: Easy Recipes for Guilt-Free Indulgence
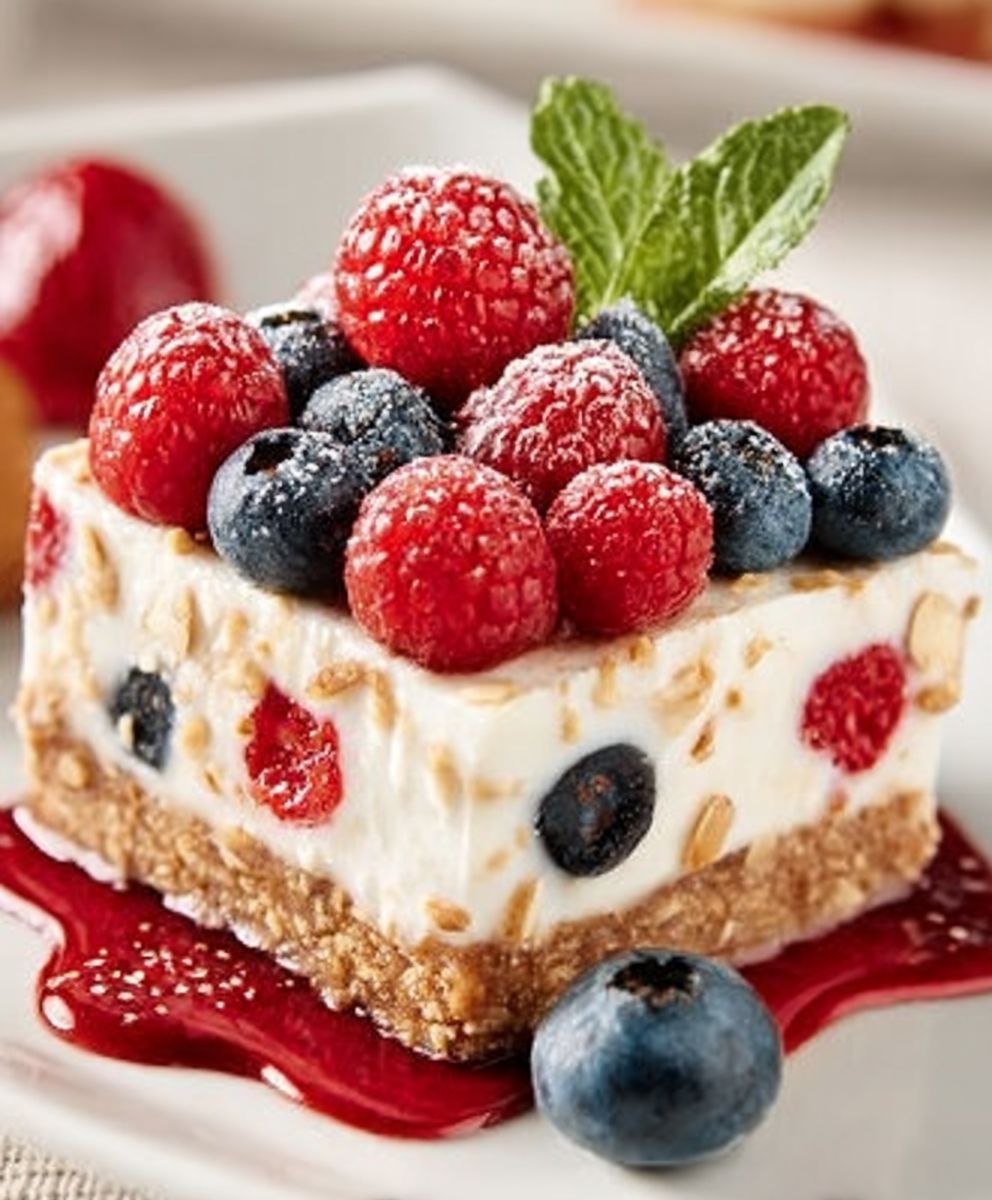
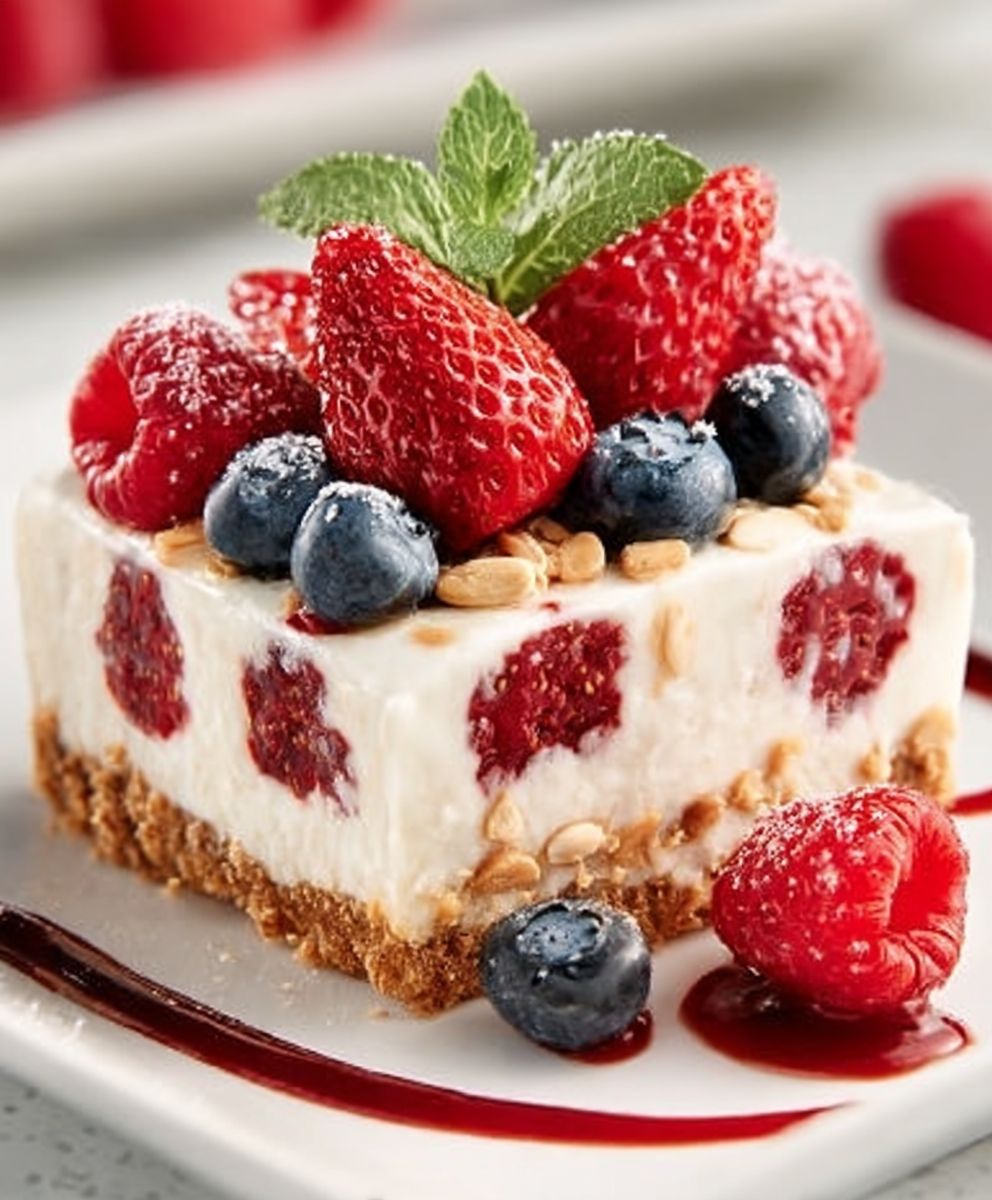
These No-Bake Chocolate Almond Oat Bars are a healthy and delicious snack made with rolled oats, almond butter, and cocoa powder. Easy to prepare and perfect for a quick energy boost, these bars require no baking and can be enjoyed chilled or at room temperature.
Ingredients
- 1 cup of rolled oats
- 1/2 cup of natural almond butter (or any nut butter of your choice)
- 1/4 cup of honey or maple syrup
- 1/2 cup of unsweetened cocoa powder
- 1/2 cup of shredded coconut (unsweetened)
- 1/2 cup of dark chocolate chips (optional)
- 1 teaspoon of vanilla extract
- 1/4 teaspoon of salt
Instructions
- Gather all your ingredients: Before you start, make sure you have everything you need on hand. This will make the process smoother and more enjoyable.
- Mix the dry ingredients: In a large mixing bowl, combine the rolled oats, unsweetened cocoa powder, shredded coconut, and salt. Stir them together until they are well mixed.
- Combine the wet ingredients: In a separate bowl, mix the almond butter, honey (or maple syrup), and vanilla extract. Blend until smooth. If your almond butter is too thick, microwave it for about 10-15 seconds to make it easier to mix.
- Combine wet and dry ingredients: Pour the wet mixture into the bowl with the dry ingredients. Stir until all the oats are coated and the mixture is well combined. If using dark chocolate chips, fold them in at this stage.
- Prepare your pan: Line an 8×8 inch baking dish with parchment paper, leaving some overhang for easy lifting.
- Transfer the mixture: Spoon the mixture into the prepared baking dish. Use a spatula to spread it evenly and press down firmly to compact it.
- Chill in the refrigerator: Cover the dish and place it in the refrigerator. Let it chill for at least 1-2 hours to firm up.
- Remove from the refrigerator: After chilling, take the dish out. The mixture should be firm.
- Lift out the bars: Use the overhanging parchment paper to lift the dessert out of the dish and place it on a cutting board.
- Cut into bars: Using a sharp knife, cut the block into squares or rectangles, typically into 16 squares for bite-sized treats.
- Store the bars: Place cut bars in an airtight container. They can be stored in the refrigerator for up to a week or in the freezer for longer storage, separated by parchment paper.
- Serve chilled: These bars are best enjoyed chilled. Let them soften slightly before serving.
- Pair with toppings: Consider serving with fresh fruit, yogurt, or a drizzle of honey or nut butter.
- Share with friends: Perfect for gatherings, picnics, or as a sweet treat at home.
Notes
- For a nut-free version, substitute almond butter with sunflower seed butter.
- Feel free to add in other mix-ins like dried fruits or seeds for added texture and flavor.


Leave a Comment