
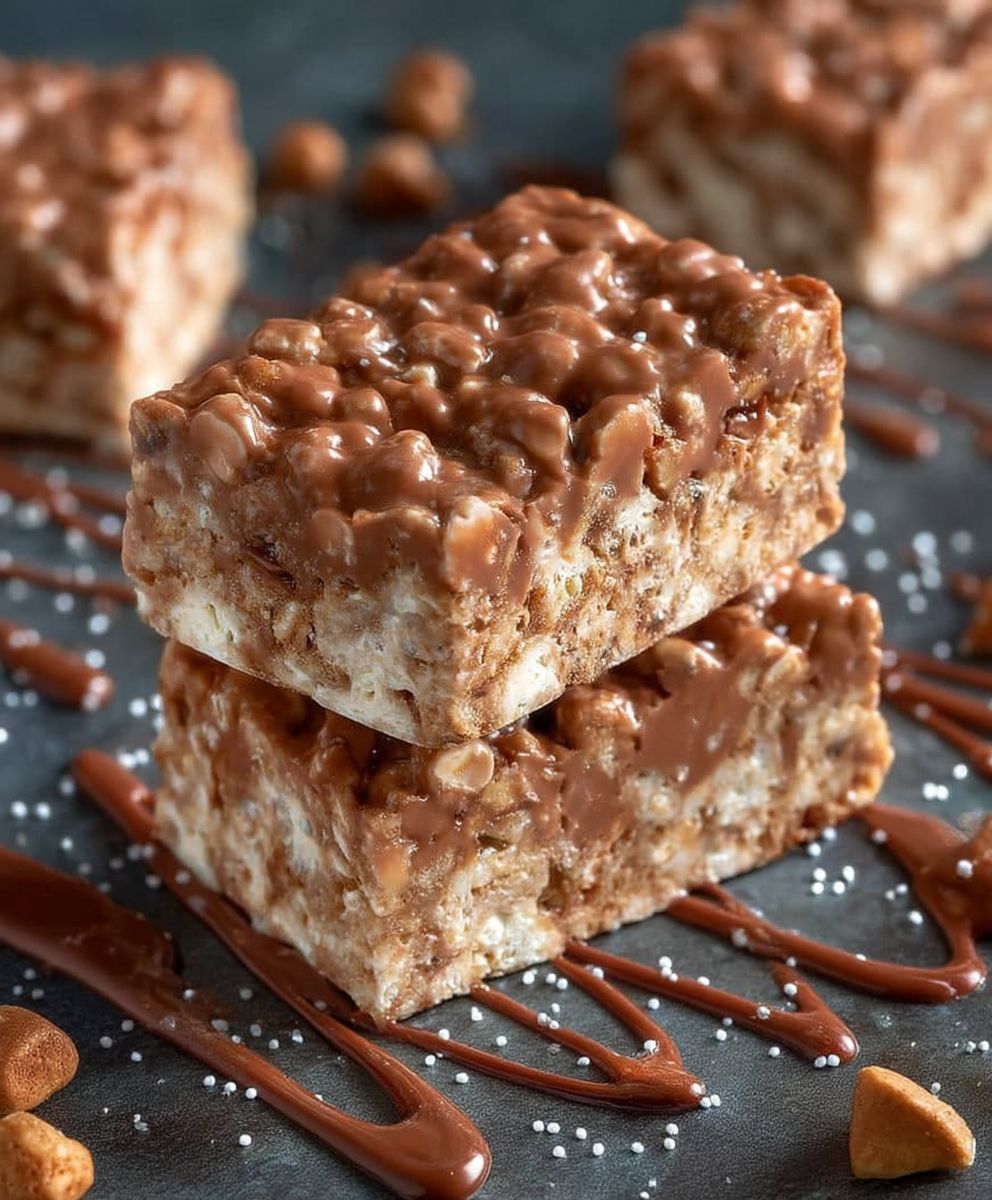
Homemade Crunch Bars: A Delightful Treat for Everyone
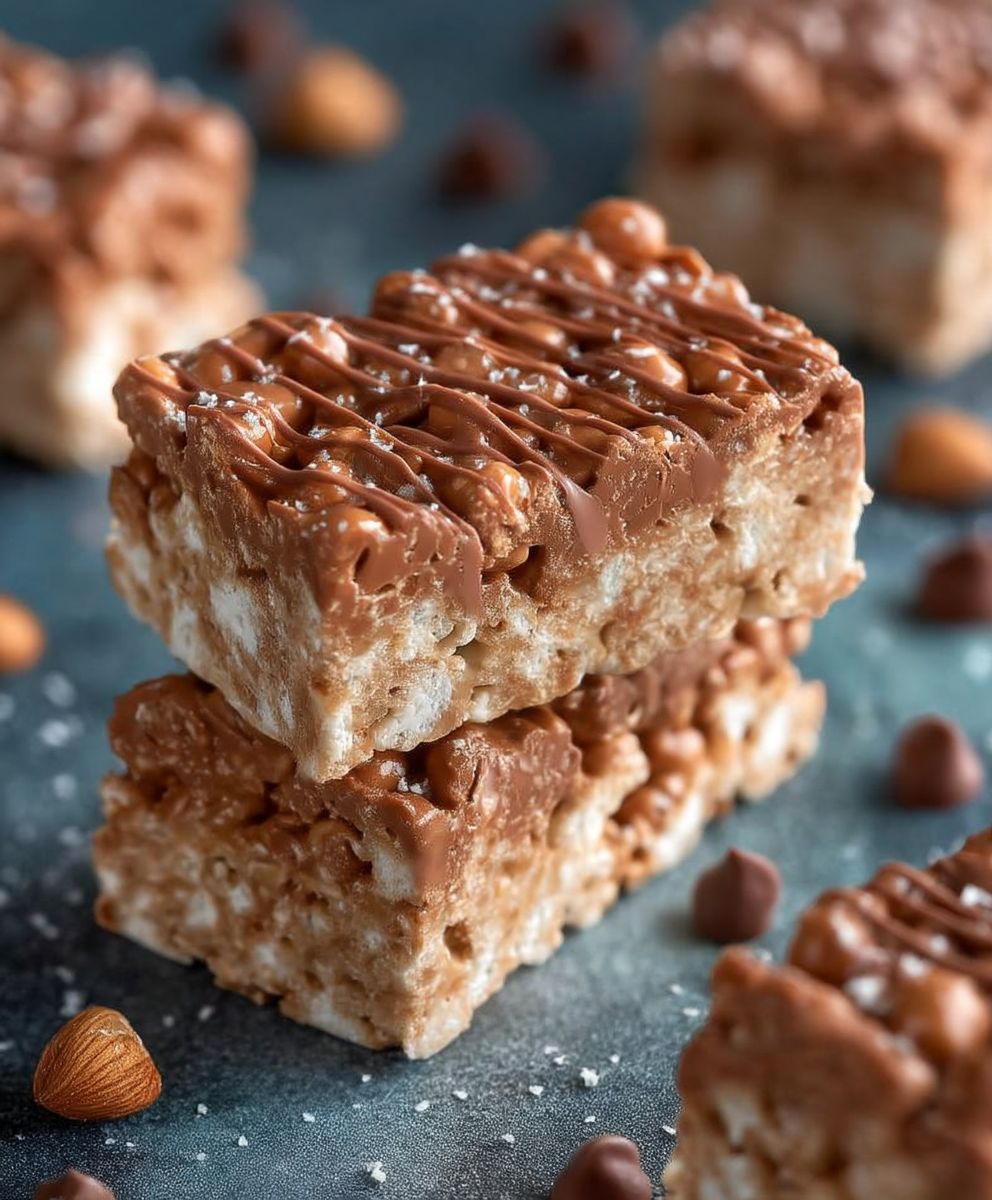
Homemade Crunch Bars are a nostalgic treat that brings back fond memories of childhood snacks. With their perfect combination of crispy rice cereal and rich chocolate, these bars are not only easy to make but also incredibly satisfying. The history of crunch bars dates back to the mid-20th century, when they became a popular choice for both kids and adults alike, thanks to their delightful texture and sweet flavor.
People love Homemade Crunch Bars for their simplicity and versatility. Whether you enjoy them as an after-school snack, a dessert at a party, or a quick pick-me-up during the day, these bars are sure to please. The satisfying crunch paired with the smooth chocolate creates a delightful contrast that keeps you coming back for more. Plus, making them at home allows you to customize the ingredients to suit your taste, ensuring that every bite is just as you like it. So, let’s dive into this delicious recipe and discover how easy it is to create your own Homemade Crunch Bars!
Ingredients:
- 1 cup of creamy peanut butter
- 1/2 cup of honey or maple syrup
- 3 cups of crispy rice cereal
- 1 cup of dark chocolate chips
- 1/2 cup of chopped nuts (optional, such as almonds or walnuts)
- 1/2 teaspoon of vanilla extract
- Pinch of salt
Preparing the Mixture
- Gather all your ingredients: Before you start, make sure you have everything you need on hand. This will make the process smoother and more enjoyable.
- Mix the peanut butter and honey: In a medium saucepan, combine 1 cup of creamy peanut butter and 1/2 cup of honey (or maple syrup). Place the saucepan over low heat. Stir continuously until the mixture is smooth and well combined. This should take about 3-5 minutes. Be careful not to let it boil.
- Add vanilla and salt: Once the peanut butter and honey mixture is smooth, remove it from the heat. Stir in 1/2 teaspoon of vanilla extract and a pinch of salt. This will enhance the flavors of your crunch bars.
- Incorporate the crispy rice cereal: In a large mixing bowl, add 3 cups of crispy rice cereal. Pour the warm peanut butter mixture over the cereal. Using a spatula or wooden spoon, gently fold the mixture together until all the cereal is evenly coated. If you’re adding chopped nuts, now is the time to fold them in as well.
Setting the Bars
- Prepare your baking dish: Line an 8×8 inch baking dish with parchment paper, leaving some overhang on the sides. This will make it easier to lift the bars out later. You can also lightly grease the parchment paper with a bit of cooking spray or oil.
- Transfer the mixture: Pour the cereal mixture into the prepared baking dish. Using your hands or the back of a spatula, press the mixture down firmly and evenly into the dish. Make sure it’s compact, as this will help the bars hold together once set.
- Chill the mixture: Place the baking dish in the refrigerator for about 30 minutes. This will help the mixture firm up and make it easier to cut into bars later.
Melting the Chocolate
- Prepare to melt the chocolate: While the mixture is chilling, you can prepare the chocolate. In a microwave-safe bowl, add 1 cup of dark chocolate chips.
- Microwave the chocolate: Heat the chocolate chips in the microwave in 30-second intervals, stirring in between, until the chocolate is completely melted and smooth. This usually takes about 1-2 minutes total. Be careful not to overheat the chocolate, as it can burn easily.
- Spread the chocolate: Once the chocolate is melted, remove the baking dish from the refrigerator. Pour the melted chocolate over the chilled cereal mixture. Use a spatula to spread the chocolate evenly across the top.
Finalizing the Crunch Bars
- Chill again: Return the baking dish to the refrigerator for another 30 minutes to allow the chocolate to set completely. This step is crucial for achieving that perfect crunch bar texture.
- Cut into bars: Once the chocolate has set, remove the baking dish from the refrigerator. Use the overhanging parchment paper to lift the entire block out of the dish. Place it on a cutting board and cut it into squares or rectangles, depending on your preferred size.
- Store the bars: Place the cut bars in an airtight container. They can be stored in the refrigerator for up to two weeks or at room temperature for about a week. If you want to keep them fresh for longer, consider freezing them.
Enjoying Your Crunch Bars
- Serve and enjoy: These homemade crunch bars are perfect for a quick snack, a post-workout treat, or even a lunchbox
Conclusion:
If you’re looking for a delightful treat that combines the perfect balance of crunch and sweetness, then these Homemade Crunch Bars are an absolute must-try! Not only are they incredibly easy to make, but they also allow you to customize the flavors and ingredients to suit your taste. The combination of crispy rice cereal, rich chocolate, and a hint of peanut butter creates a satisfying snack that’s perfect for any occasion. Whether you’re preparing for a family gathering, a movie night, or simply craving something sweet, these bars will surely impress everyone.
For serving suggestions, I recommend cutting the bars into bite-sized pieces for easy sharing. They make a fantastic addition to lunchboxes, and you can even package them up as homemade gifts for friends and family. If you want to elevate your crunch bars even further, consider drizzling some melted chocolate on top or sprinkling a pinch of sea salt for that perfect sweet-and-salty contrast. You can also experiment with different mix-ins, such as dried fruits, nuts, or even a sprinkle of coconut flakes, to create your own unique version of these delicious treats.
I encourage you to give this Homemade Crunch Bars recipe a try! It’s a fun and rewarding experience that will not only satisfy your sweet tooth but also allow you to unleash your creativity in the kitchen. Once you’ve made your batch, I would love to hear about your experience! Did you stick to the classic recipe, or did you add your own twist? Share your thoughts and any variations you tried in the comments below. Your feedback not only helps me improve but also inspires others to get creative with their own crunch bars.
So, gather your ingredients, roll up your sleeves, and let’s get crunching! I promise you won’t regret it. These bars are not just a treat; they’re a delightful way to bring joy to your day. Happy cooking, and I can’t wait to see how your Homemade Crunch Bars turn out!
Homemade Crunch Bars: Easy Recipe for a Delicious Treat
A delicious and easy-to-make dish that combines fresh ingredients and bold flavors, perfect for any occasion. Enjoy a satisfying meal that is both nutritious and delightful!
Ingredients
Instructions
- In einer großen Schüssel Mehl, Salz und Hefe vermengen.
- Wasser hinzufügen und zu einem Teig verrühren.
- Knoblauch und Olivenöl unterrühren.
- Teig 12 Stunden gehen lassen.
Notes
- Der Teig darf während der Ruhezeit nicht bewegt werden.
- Für ein intensiveres Knoblaucharoma können mehr Zehen verwendet werden.


Leave a Comment