
Chicken Fried Chicken: A Comfort Food Classic
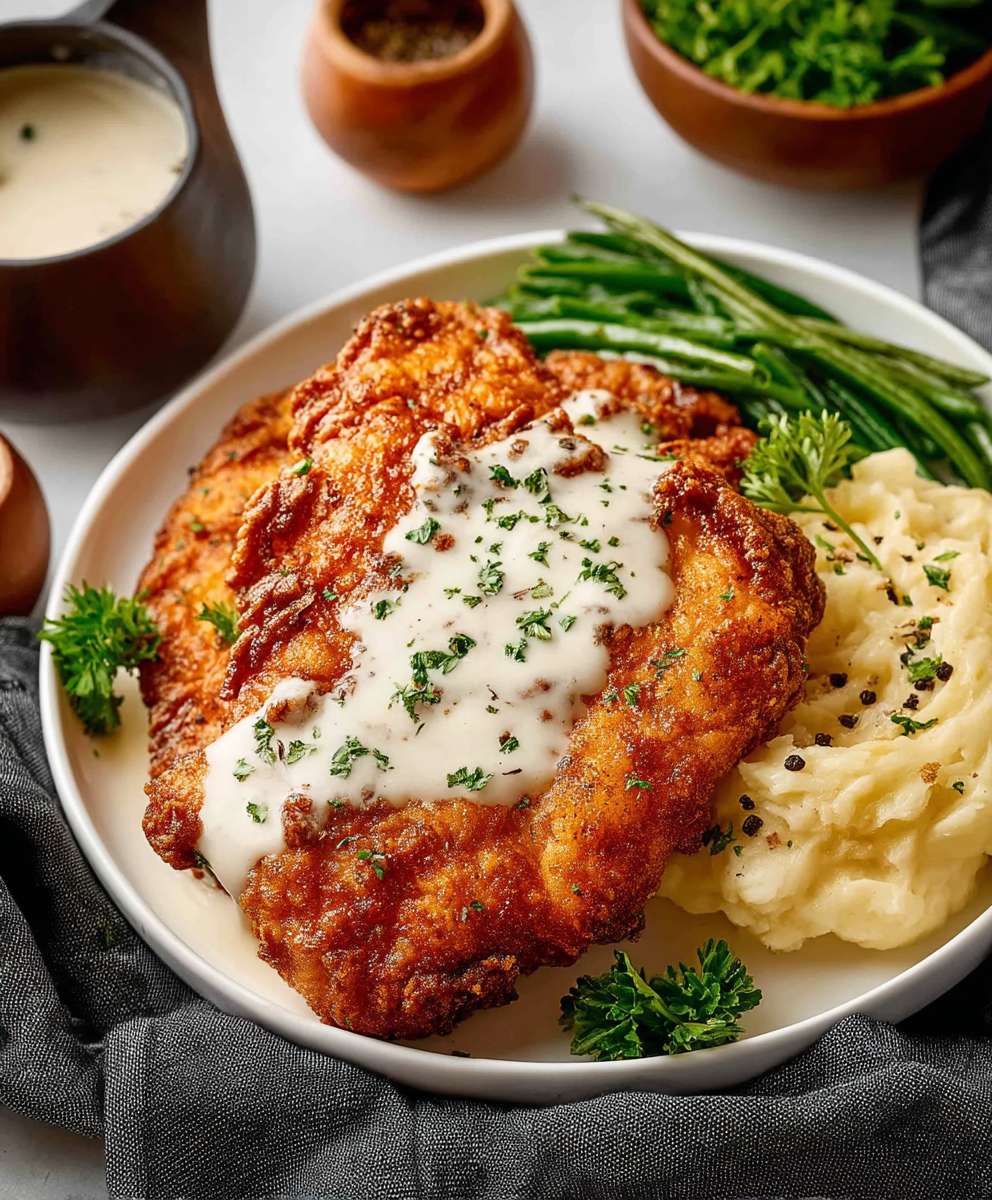
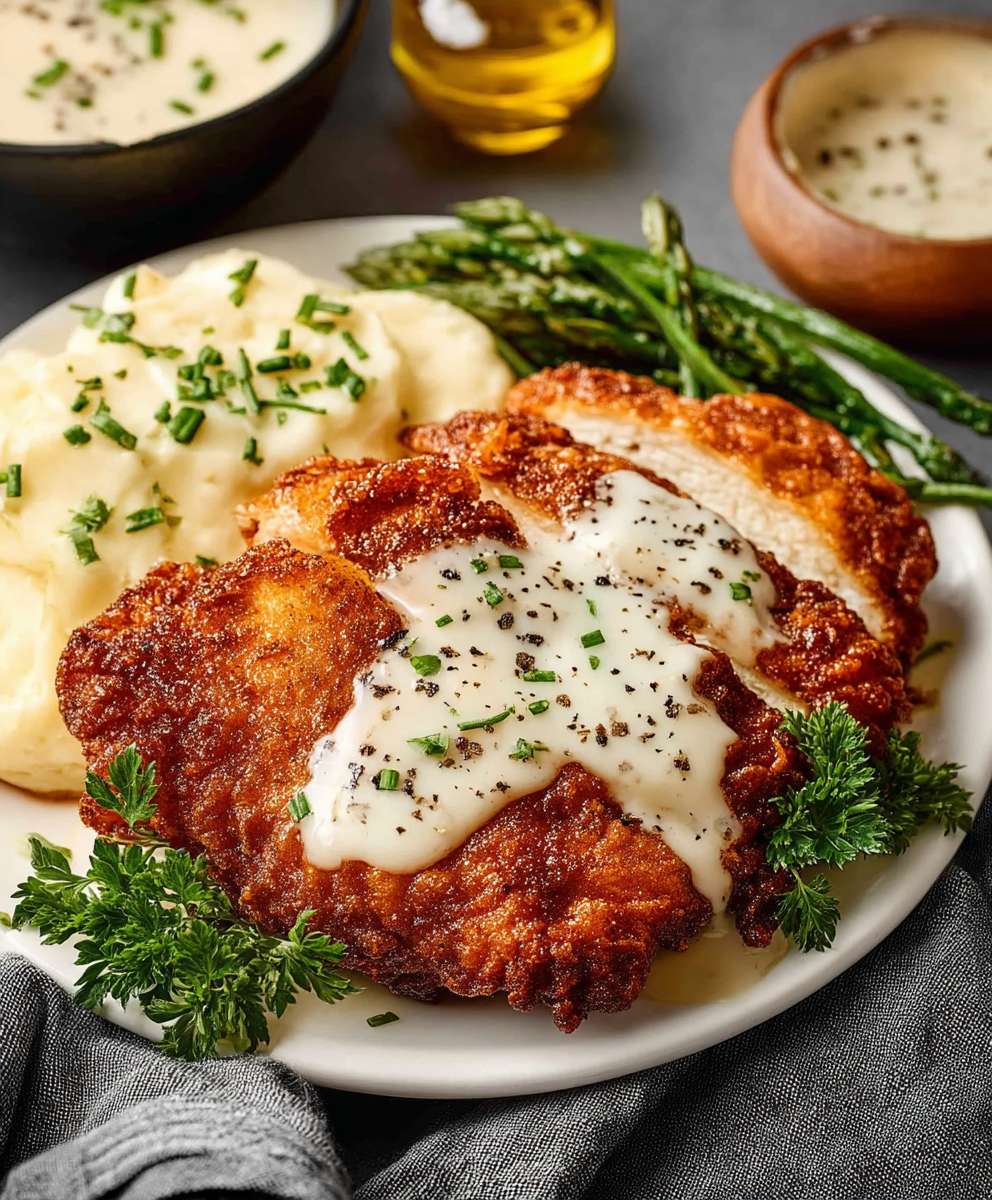
Chicken Fried Chicken is a dish that brings warmth and nostalgia to the dinner table. This delightful recipe features tender, juicy chicken breasts coated in a crispy, golden-brown crust, making it a favorite among families and food lovers alike. Originating from the Southern United States, Chicken Fried Chicken has deep roots in American culinary history, often served with creamy gravy and sides like mashed potatoes or collard greens.
What makes Chicken Fried Chicken so beloved is not just its irresistible taste and texture, but also its convenience. It’s a dish that can easily be prepared for a weeknight dinner or a special gathering, satisfying even the pickiest of eaters. The combination of the crunchy exterior and the succulent meat creates a mouthwatering experience that keeps people coming back for more. Whether you’re enjoying it at a family gathering or whipping it up in your own kitchen, Chicken Fried Chicken is sure to become a cherished recipe in your home.
Ingredients:
- 4 boneless, skinless chicken breasts
- 1 cup buttermilk
- 1 teaspoon hot sauce (optional)
- 1 cup all-purpose flour
- 1 teaspoon garlic powder
- 1 teaspoon onion powder
- 1 teaspoon paprika
- 1 teaspoon salt
- 1/2 teaspoon black pepper
- 1/2 teaspoon cayenne pepper (optional for extra heat)
- Vegetable oil (for frying)
- Gravy (for serving, optional)
Preparing the Chicken
- Start by placing the chicken breasts between two pieces of plastic wrap or parchment paper. Using a meat mallet or rolling pin, gently pound the chicken to an even thickness of about 1/2 inch. This helps the chicken cook evenly and stay tender.
- In a large bowl, combine the buttermilk and hot sauce (if using). Whisk them together until well blended.
- Add the chicken breasts to the buttermilk mixture, ensuring they are fully submerged. Cover the bowl with plastic wrap and refrigerate for at least 1 hour, or up to overnight. This marinating process helps to tenderize the chicken and infuse it with flavor.
Preparing the Coating
- In a separate shallow dish, combine the flour, garlic powder, onion powder, paprika, salt, black pepper, and cayenne pepper (if using). Mix well to ensure all the spices are evenly distributed throughout the flour.
- Set up a dredging station by placing the bowl of seasoned flour next to the bowl of buttermilk-marinated chicken. You may also want to have a large plate or baking sheet ready to hold the coated chicken.
Dredging the Chicken
- Remove one chicken breast from the buttermilk mixture, allowing any excess liquid to drip off. Carefully place the chicken into the seasoned flour.
- Using your other hand, coat the chicken with flour, pressing down gently to ensure the flour adheres well. Make sure the chicken is fully coated, then shake off any excess flour.
- Transfer the coated chicken to the prepared plate or baking sheet. Repeat this process with the remaining chicken breasts, ensuring they are all well coated in the seasoned flour.
Cooking the Chicken
- In a large, heavy-bottomed skillet or cast-iron pan, pour in enough vegetable oil to cover the bottom of the pan by about 1/2 inch. Heat the oil over medium-high heat until it reaches 350°F (175°C). You can test the oil by dropping a small pinch of flour into it; if it sizzles, the oil is ready.
- Carefully add the coated chicken breasts to the hot oil, making sure not to overcrowd the pan. You may need to cook the chicken in batches, depending on the size of your skillet.
- Fry the chicken for about 5-7 minutes on one side, or until it turns golden brown and crispy. Avoid moving the chicken around too much during this time, as this can prevent a good crust from forming.
- Using tongs, carefully flip the chicken over and continue frying for another 5-7 minutes, or until the internal temperature reaches 165°F (75°C) and the chicken is golden brown on both sides.
- Once cooked, transfer the chicken to a wire rack set over a baking sheet to drain any excess oil. This helps keep the chicken crispy.
Making the Gravy (Optional)
If you want to serve your chicken fried chicken with gravy, here’s a simple recipe:
- In the same skillet used for frying the chicken, remove excess oil, leaving about 2 tablespoons in the pan.
- Over medium heat, add 1/4 cup of the leftover seasoned flour from the dredging process to the skillet. Whisk it into the oil to create a roux, cooking for about 1-2 minutes until it turns a light golden color.
- Gradually whisk in 2 cups of chicken broth, ensuring there are
Conclusion:
If you’re looking for a dish that combines comfort, flavor, and a touch of nostalgia, then this Chicken Fried Chicken recipe is an absolute must-try. The crispy, golden-brown coating paired with the juicy, tender chicken creates a delightful contrast that is sure to please your taste buds. Not only is it a fantastic meal for family gatherings, but it also makes for a perfect weeknight dinner when you want something hearty and satisfying.
One of the best things about Chicken Fried Chicken is its versatility. You can serve it with classic sides like creamy mashed potatoes and rich gravy, or you can mix it up with a fresh garden salad and a tangy vinaigrette for a lighter option. If you’re feeling adventurous, consider adding a twist by incorporating different spices into the breading or experimenting with various dipping sauces. A spicy aioli or a zesty ranch dressing can elevate the dish to new heights, making it even more enjoyable for your guests.
For those who prefer a healthier version, you can easily adapt this Chicken Fried Chicken recipe by using whole wheat flour for the breading or opting for an air fryer instead of deep frying. This way, you can still enjoy the crispy texture without the extra calories. Additionally, you can try using turkey or even plant-based chicken alternatives for a different take on this classic dish. The possibilities are endless, and I encourage you to get creative in the kitchen!
I genuinely believe that once you try this Chicken Fried Chicken recipe, it will become a staple in your home. The combination of flavors and textures is simply irresistible, and I can’t wait for you to experience it for yourself. Don’t forget to share your cooking adventures with friends and family, and let them know how much you enjoyed making this dish. I would love to hear about your variations and serving suggestions, so feel free to drop a comment or tag me on social media with your delicious creations.
In conclusion, Chicken Fried Chicken is not just a meal; it’s an experience that brings people together. Whether you’re serving it at a family dinner or enjoying it as a comforting solo meal, this recipe is sure to leave a lasting impression. So roll up your sleeves, gather your ingredients, and dive into this delightful culinary journey. I promise you won’t regret it! Happy cooking!
Chicken Fried Chicken: A Delicious Twist on a Southern Classic
A delicious and easy-to-make dish that combines fresh ingredients and bold flavors, perfect for any occasion. Enjoy a satisfying meal that is both nutritious and delightful!
Ingredients
- 500 g Mehl (Type 550)
- 10 g Salz
- 5 g Trockenhefe
- 350 ml Wasser
- 3 Zehen Knoblauch, gehackt
- 2 EL Olivenöl
Instructions
- In einer großen Schüssel Mehl, Salz und Hefe vermengen.
- Wasser hinzufügen und zu einem Teig verrühren.
- Knoblauch und Olivenöl unterrühren.
- Teig 12 Stunden gehen lassen.
Notes
- Der Teig darf während der Ruhezeit nicht bewegt werden.
- Für ein intensiveres Knoblaucharoma können mehr Zehen verwendet werden.


Leave a Comment