
Chicken Fried Chicken: A Comfort Food Classic
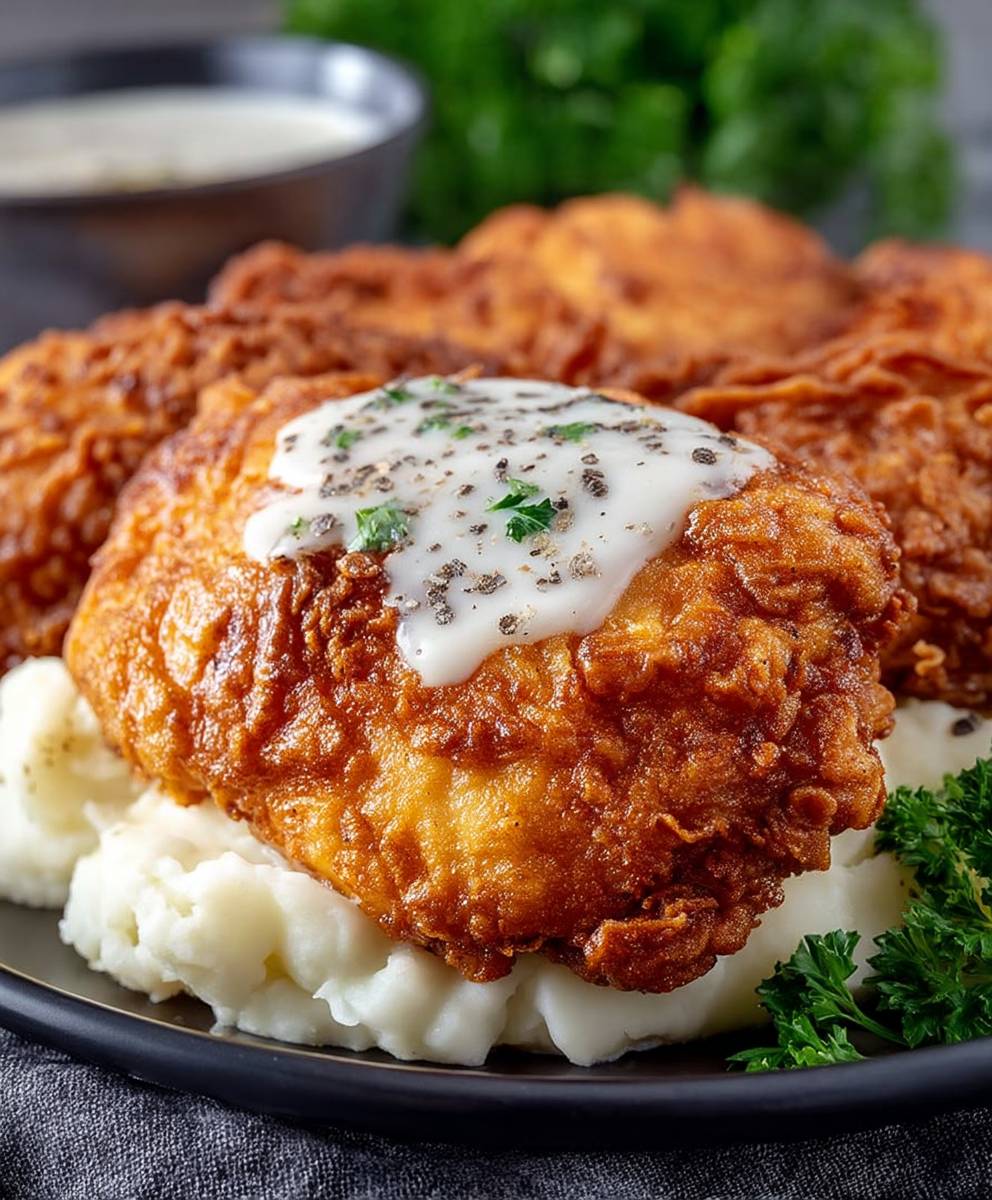
Chicken Fried Chicken is a dish that brings warmth and nostalgia to the dinner table. This delightful recipe features tender, juicy chicken breasts coated in a crispy, golden-brown crust, reminiscent of the beloved Southern classic, chicken fried steak. Originating from the Southern United States, Chicken Fried Chicken has become a staple in many households, celebrated for its rich flavors and satisfying texture.
What makes Chicken Fried Chicken so beloved? It’s the perfect combination of crunch and tenderness, with each bite offering a burst of savory goodness. The creamy gravy that often accompanies this dish adds an extra layer of indulgence, making it a favorite for family gatherings and special occasions. Plus, it’s a convenient meal that can be prepared in under an hour, making it ideal for busy weeknights.
Join me as we explore the delightful world of Chicken Fried Chicken, and discover why this dish continues to hold a special place in our hearts and on our plates.
Ingredients:
- 4 boneless, skinless chicken breasts
- 1 cup buttermilk
- 1 teaspoon hot sauce (optional)
- 1 cup all-purpose flour
- 1 teaspoon garlic powder
- 1 teaspoon onion powder
- 1 teaspoon paprika
- 1 teaspoon salt
- 1/2 teaspoon black pepper
- 1/2 teaspoon cayenne pepper (optional, for extra heat)
- Vegetable oil (for frying)
- Gravy (for serving, optional)
Preparing the Chicken
- Start by placing the chicken breasts between two pieces of plastic wrap or parchment paper. Using a meat mallet or rolling pin, gently pound the chicken to an even thickness of about 1/2 inch. This helps the chicken cook evenly and stay tender.
- In a large bowl, combine the buttermilk and hot sauce (if using). Whisk them together until well blended.
- Add the chicken breasts to the buttermilk mixture, ensuring they are fully submerged. Cover the bowl with plastic wrap and refrigerate for at least 1 hour, or up to overnight. This marinating process helps to tenderize the chicken and infuse it with flavor.
Preparing the Coating
- In a separate shallow dish, combine the flour, garlic powder, onion powder, paprika, salt, black pepper, and cayenne pepper (if using). Mix well to ensure all the spices are evenly distributed throughout the flour.
- Set up a dredging station by placing the bowl of buttermilk chicken on one side, the flour mixture in the middle, and a clean plate on the other side for the coated chicken.
Dredging the Chicken
- Remove one chicken breast from the buttermilk mixture, allowing any excess liquid to drip off.
- Carefully place the chicken breast into the flour mixture, pressing down gently to ensure it is fully coated. Turn the chicken over and coat the other side as well.
- Transfer the coated chicken to the clean plate. Repeat this process with the remaining chicken breasts, ensuring each piece is well coated in the flour mixture.
- Once all the chicken is coated, let it sit for about 10-15 minutes. This resting period allows the coating to adhere better during frying.
Cooking Process
- In a large, heavy-bottomed skillet or cast-iron pan, pour in enough vegetable oil to cover the bottom of the pan by about 1/2 inch. Heat the oil over medium-high heat until it reaches 350°F (175°C). You can test the oil by dropping a small pinch of flour into it; if it sizzles, the oil is ready.
- Carefully add the coated chicken breasts to the hot oil, making sure not to overcrowd the pan. You may need to fry in batches depending on the size of your skillet.
- Fry the chicken for about 5-7 minutes on one side, or until it turns golden brown and crispy. Avoid moving the chicken around too much during this time to allow a nice crust to form.
- Using tongs, carefully flip the chicken over and continue frying for another 5-7 minutes, or until the internal temperature reaches 165°F (75°C) and the chicken is golden brown on both sides.
- Once cooked, transfer the fried chicken to a wire rack set over a baking sheet to drain any excess oil. This helps keep the chicken crispy.
Serving the Chicken Fried Chicken
- Once all the chicken is fried and resting, you can serve it immediately. I love to pair it with homemade gravy, mashed potatoes, and a side of green beans for a classic comfort meal.
- If you prefer, you can also serve the chicken with a drizzle of honey or hot sauce for an extra kick of flavor.
- For a fun twist, consider serving the chicken on a biscuit or in a sandwich with pickles and your favorite sauce.
Tips for Perfect Chicken Fried Chicken
Conclusion:
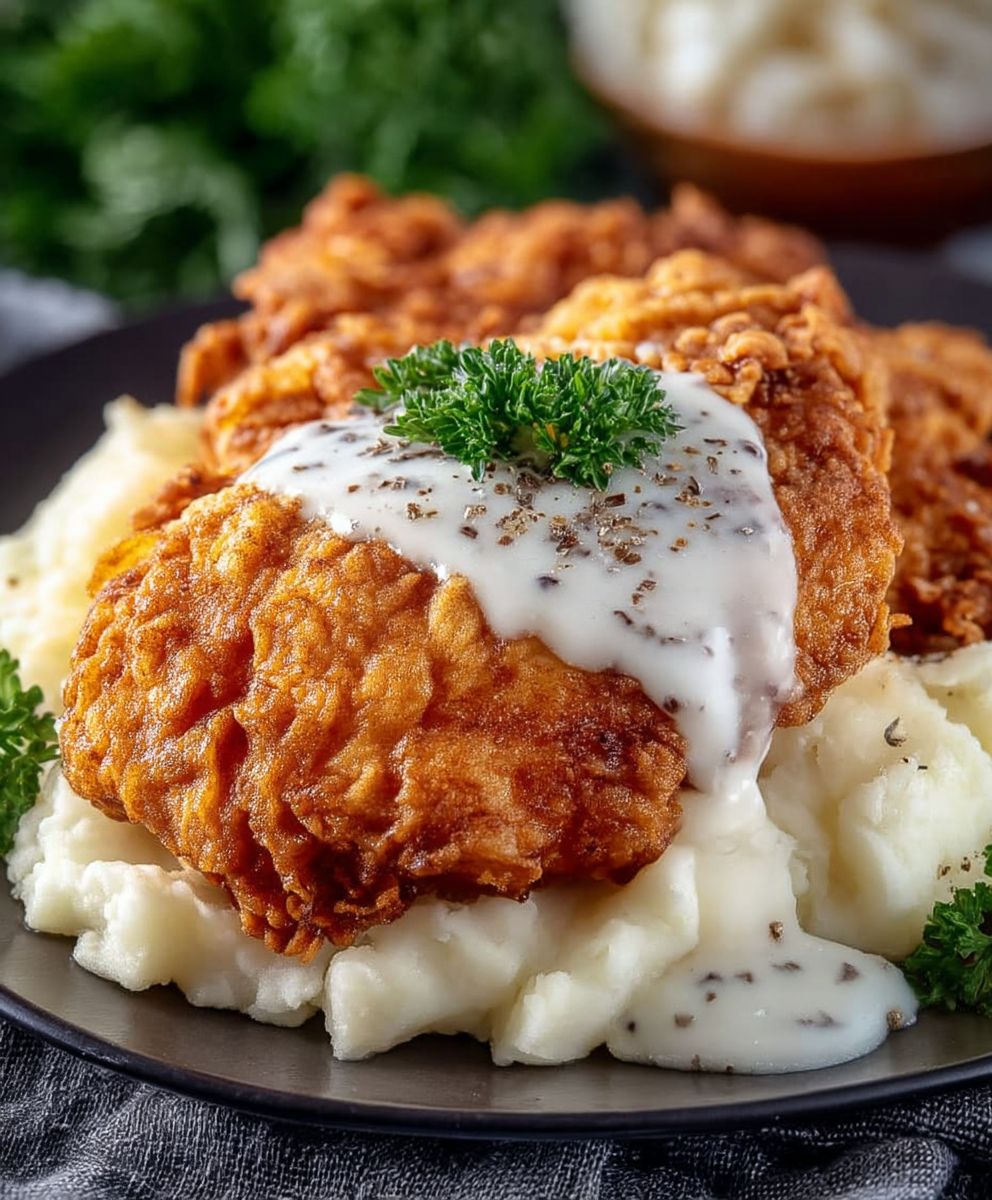
If you’re looking for a dish that combines comfort, flavor, and a touch of nostalgia, then this Chicken Fried Chicken recipe is an absolute must-try. The crispy, golden-brown coating paired with the juicy, tender chicken creates a delightful contrast that is sure to please your taste buds. Not only is it a fantastic meal for family gatherings, but it also makes for a perfect weeknight dinner when you want something hearty and satisfying.
One of the best things about Chicken Fried Chicken is its versatility. You can serve it with a variety of sides to elevate your meal. Classic accompaniments like creamy mashed potatoes and rich gravy are always a hit, but don’t hesitate to get creative! Consider pairing it with a fresh garden salad for a lighter option, or some roasted vegetables for a colorful plate. If you’re in the mood for something a bit different, try serving it with a side of coleslaw or even some homemade biscuits. The possibilities are endless, and each combination brings its own unique flair to the dish.
For those who love to experiment in the kitchen, there are plenty of variations you can try with this Chicken Fried Chicken recipe. You might want to spice things up by adding some cayenne pepper or hot sauce to the breading for a kick of heat. Alternatively, you could switch up the seasoning by incorporating herbs like thyme or rosemary for a more aromatic flavor profile. If you’re looking for a healthier twist, consider using whole wheat flour for the breading or baking the chicken instead of frying it. Each variation can bring a new dimension to this classic dish, making it even more enjoyable.
I encourage you to give this Chicken Fried Chicken recipe a try and experience the joy it brings to your table. Cooking can be a wonderful way to connect with family and friends, and sharing a delicious meal is one of the best ways to create lasting memories. Once you’ve made this dish, I would love to hear about your experience! Did you stick to the classic recipe, or did you try out one of the variations? Share your thoughts and any tips you might have in the comments below. Your feedback not only helps me improve but also inspires others to dive into the kitchen and whip up their own Chicken Fried Chicken.
In conclusion, this Chicken Fried Chicken recipe is not just a meal; it’s an experience that brings warmth and joy to any dining table. So roll up your sleeves, gather your ingredients, and let’s get cooking! I can’t wait to hear how it turns out for you!
Chicken Fried Chicken: A Delicious Twist on a Southern Classic
A delicious and easy-to-make dish that combines fresh ingredients and bold flavors, perfect for any occasion. Enjoy a satisfying meal that is both nutritious and delightful!
Ingredients
- 500 g Mehl (Type 550)
- 10 g Salz
- 5 g Trockenhefe
- 350 ml Wasser
- 3 Zehen Knoblauch, gehackt
- 2 EL Olivenöl
Instructions
- In einer großen Schüssel Mehl, Salz und Hefe vermengen.
- Wasser hinzufügen und zu einem Teig verrühren.
- Knoblauch und Olivenöl unterrühren.
- Teig 12 Stunden gehen lassen.
Notes
- Der Teig darf während der Ruhezeit nicht bewegt werden.
- Für ein intensiveres Knoblaucharoma können mehr Zehen verwendet werden.

Leave a Comment